Have you ever failed the dilemma? Should I reply to the text I just go, or should I get my work done? I don’t about you, but I get distracted by these texts or notifications easily. To make sure that your focus is solemnly on your task, Windows 11 22H2 integrated a new feature in Notification Center, Do Not Disturb.
This article will show how to enable, disable, schedule, and use Do Not Disturb on Windows 11.
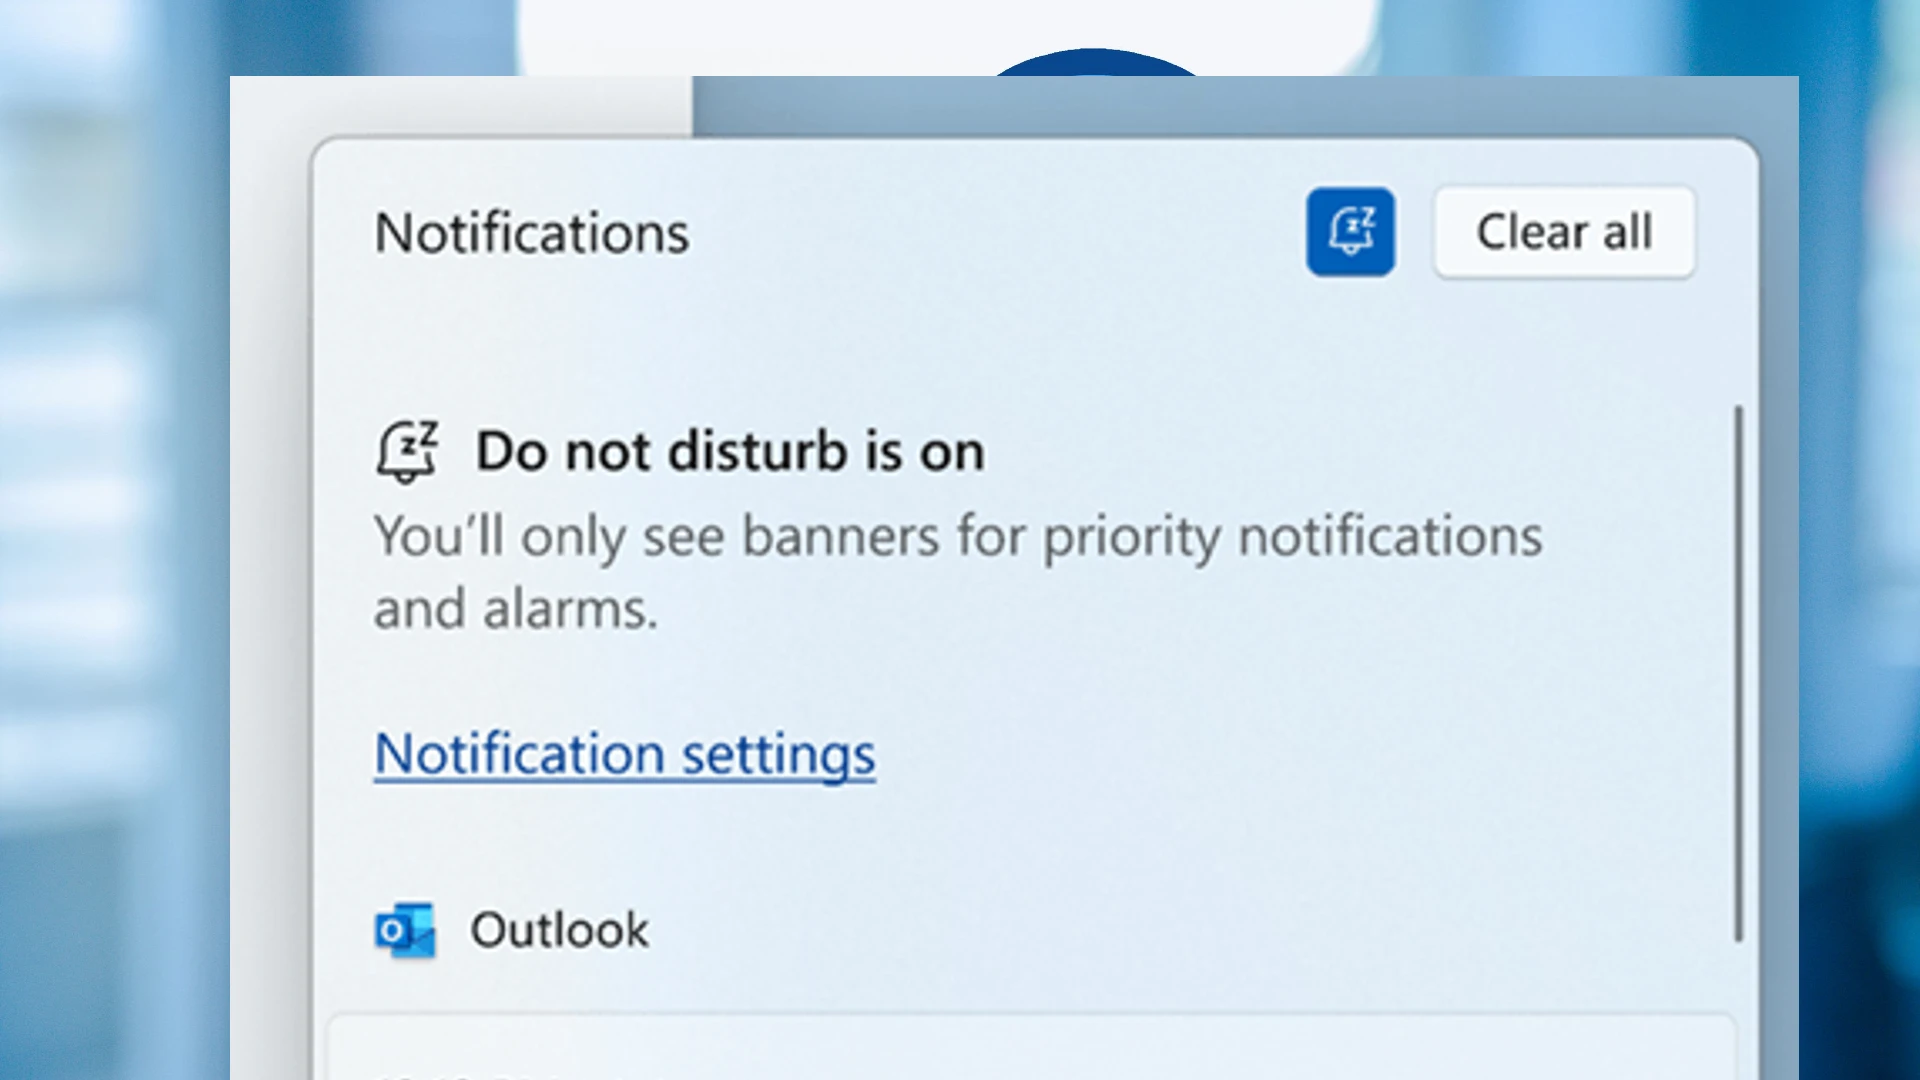
What is Do No Disturb Mode on Windows 11?
Do Not Disturb mode is not new to Windows. It is just a step-up version of Focus Assist and is coming to Windows 11 22H2. This feature is made to increase your productivity, when turned on, this will stop notifications from popping up. However, if you wish to take a look at them, all you have to do is visit the Notification Center. So, if you are annoyed by the mostly redundant notification, read this article to know how you can customize the Do No Disturb mode to work as per your needs.How to enable, schedule, disable and use Do Not Disturb on Windows 11
This post will teach the following things to control the Windows 11 Do not Disturb mode.
- Enable Do Not Disturb Mode
- Schedule Do Not Disturb Mode
- Disable Do Not Disturb Mode
Let us talk about them in detail.Enable Do Not Disturb Mode in Windows 11
Suppose you do not want to be disrupted while focusing on a difficult task or simply do not want to see notifications pooping on your screen. In that case, you can enable Do not disturb on your computer by following the steps given below:
- Enter Win + I to open Settings.
- Select the System option and click on the Notifications tab.
- Switch on the toggle key next to the Do not disturb option.
This way, you will not be disturbed by notification banners every few seconds. However, you can check them after completing your task from the Notification Center.
Schedule Do Not Disturb Mode in Windows 11
To turn on or off Do Not Disturb automatically as per your schedule, follow the prescribed steps:
-
- Open Settings.
- Go to the System option and then click on the Notifications tab.
- Click on the toggle key next to the Do not disturb option to turn it on.
- Now, click on Turn on the do not disturb option automatically.
- Tick the box next to During these times and set the Turn on and off options.
- Set the Repeat option.
After completing the steps, the Do Not Disturb feature will turn on and off per your schedule. You can set some other options apart from the scheduled time such as not getting notifications when duplicating the display, while in games, etc.
Disable Do Not Disturb Mode in Windows 11
You can disable the Do Not Disturb feature by opening the Notification Center and clicking the Bell icon from the top-right section of the screen to turn off the Do Not Disturb mode or using Windows Settings for the same. Here’s how to disable the Do Not Disturb feature by using settings:
- Hit Win + I to open Settings.
- Navigate to the System option and select the Notification tab.
- Switch off the toggle key of the Do Not Disturb feature.
Hopefully, this will solve your problem.
Hopefully, now you understand how to enable, disable, schedule, and use Do Not Disturb on Windows 11.
How do you disable Do Not Disturb on Windows 10?
The Do Not Disturb feature was previously known as Focus Assist in previous Windows versions so if you want to disable the Do Not Disturb feature aka Focus Assist on Windows 10, click Win + I to open Settings, go to System and then select the Notification tab. Then turn Off Focus Assist.
You’ll get the notifications from now onward; however, if you want to turn on Focus assist, then go to the same settings and make the required adjustments. That will do the job for you.
How do I turn on Do Not Disturb automatically?
To automatically turn on Do Not Disturb Mode, you need to schedule it. This way, the feature will work in the background seamlessly and per your timing. To know how to schedule Do Not Disturb mode, scroll up and read the guide above.