Some PC users on Windows 11 or Windows 10, mostly users with a multiple monitor setup, report the issue whereby they get the error message Input Not Supported on a black screen after booting up their computer. In this post, we identify the potential culprits as well as provide the most suitable solutions to resolve the issue. This problem is predominantly seen on Acer monitors.
This issue usually occurs mainly due to either of the following reasons;
- Screen resolution is set to the wrong resolution.
- Monitor driver and graphics card driver issues.
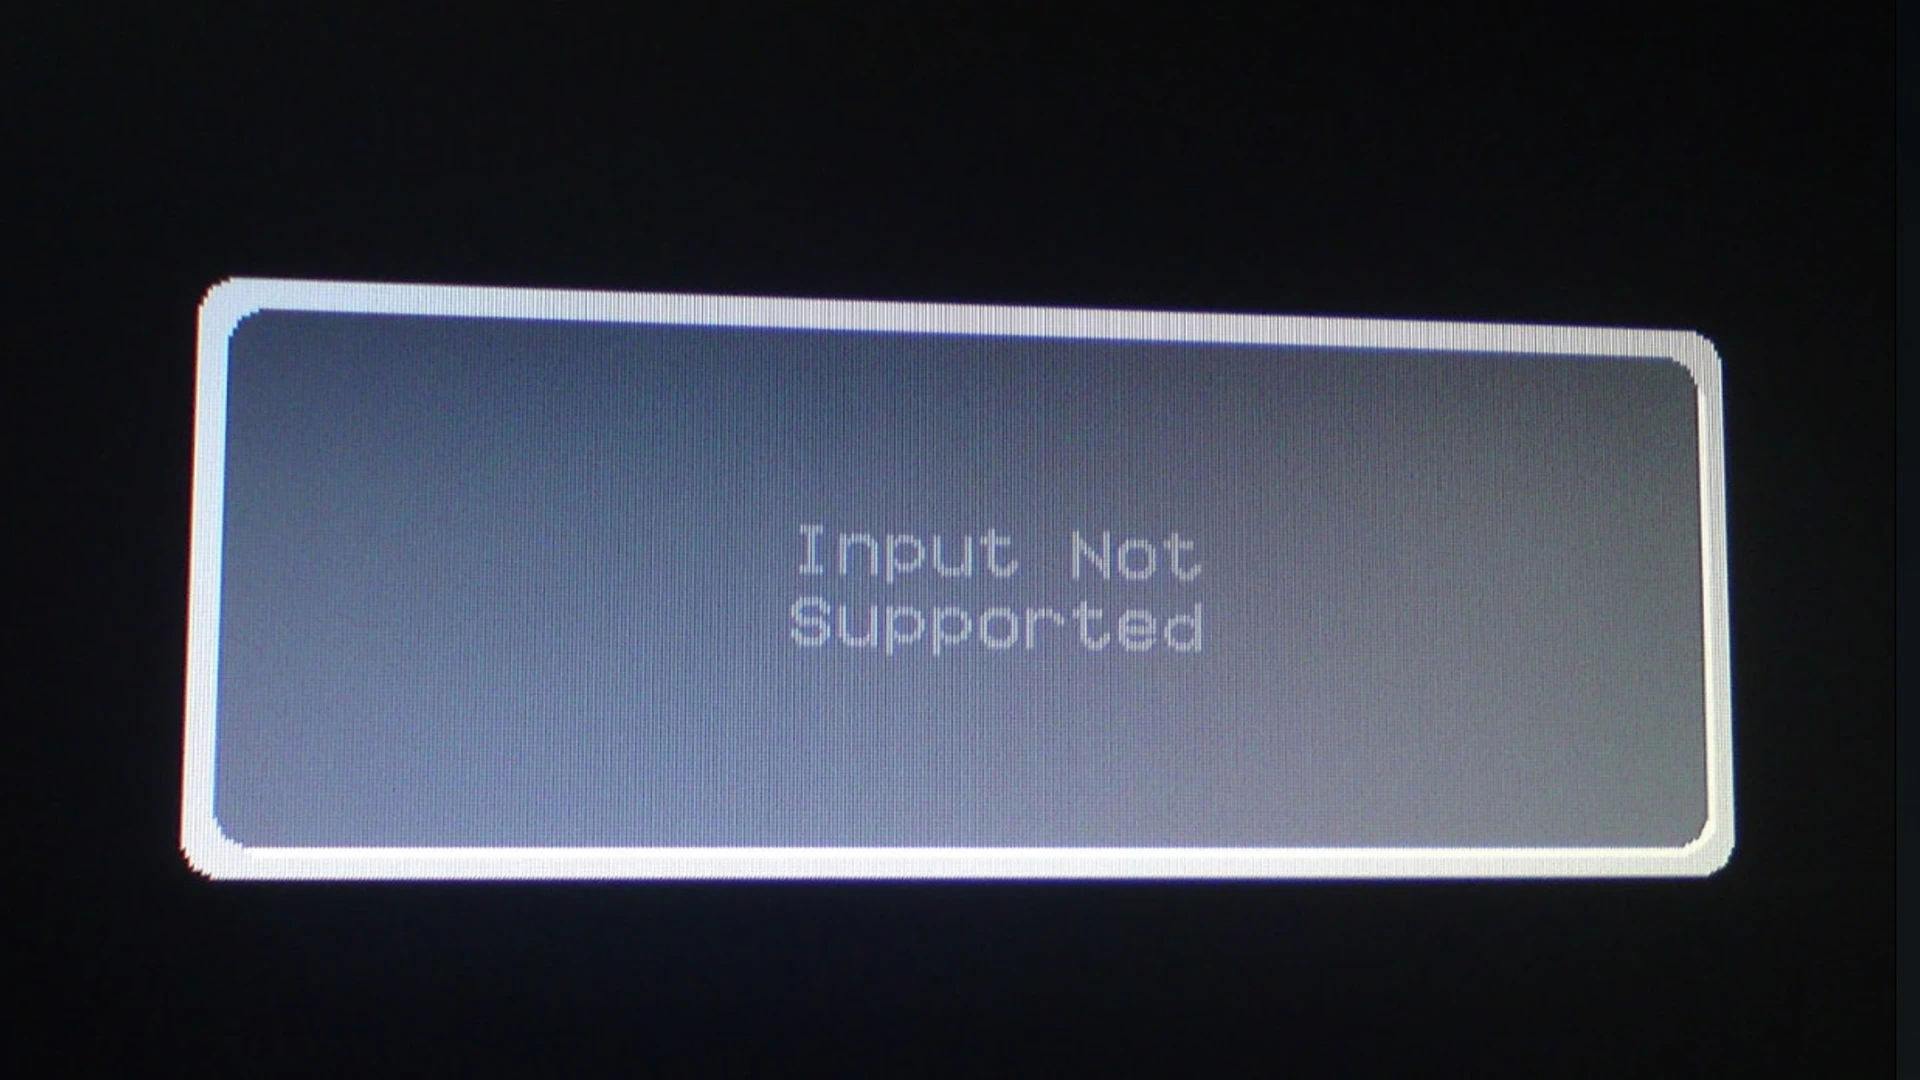
Input Not Supported Monitor error
Suppose you’re getting the Monitor error message Input not supported on your Windows 11/10 PC. In that case, you can try our recommended solutions presented below in no particular order and see if that helps to fix the error on your system.
- Change the Screen Resolution and Monitor Refresh Rate
- Update monitor driver and graphics adapter driver
- Run Hardware and Devices Troubleshooter
- Change to Windowed Mode (for Games)
Let’s take a look at the description of the process involved concerning each of the listed solutions.
Before you proceed with the solutions below, make sure the connections between your PC and the monitor are correctly set up. You can perform this task by making sure the end of the HDMI or VGA cable must be snug and secure in the correct port location. Also, keep in mind that a bad cable can interfere with the connection, so to rule out this possibility, you can try a different HDMI or VGA cable as the case may be.
Note: To apply the solutions below, you’ll need to be able to boot and log into your Windows desktop. If you can’t log into your computer, then boot your computer into Safe Mode (if unable, see Cannot boot in Safe Mode). And, you may have to connect your computer to another monitor.
1] Change the Screen Resolution and Monitor Refresh Rate
To apply this solution to resolve the monitor error message Input not supported on your Windows 11/10 PC, you need to boot your computer in Low resolution or VGA mode by enabling low-resolution video in Startup Settings.
Once your PC is in that mode, you can now change the Monitor Refresh Rate and also change the display resolution (if unable, see Can’t change Screen Resolution). You can try changing the resolution other than the recommended resolution if it wasn’t working. You can choose a low resolution and work your way up in order to determine which one works best for you.
Once done, save changes and restart to boot Windows normally and see if the issue in hand is resolved.
Fix: Resolution not supported Monitor error
2] Update monitor driver and graphics adapter driver
The issue at hand can occur due to missing or corrupted device drivers (especially the monitor driver and graphics card driver). In this case, to resolve the issue, you can update the graphics adapter and monitor drivers and see if that helps.
- If you have already downloaded the .inf or .sys file for the driver, you can manually update graphics and monitor drivers via Device Manager.
- You can also update the driver via Command Prompt.
- In Windows Update, you can as well get the driver updates on the Optional Updates section
- Or you can download the latest version of the driver from the graphics adapter and monitor hardware manufacturer’s website.
- Another option (usually not recommended) is to automatically update your drivers using any of the free Driver Update software.
3] Run Hardware and Devices Troubleshooter
Hardware and Devices Troubleshooter is a powerful Windows built-in tool that can be used to find, diagnose and solve your hardware and device issues. Although, after Windows 10 version 1809, it appears the tool has been deprecated. Nevertheless, you can still access this tool on your Windows 11/10 PC.
Suppose neither of the above solutions worked for you, to rule out the possibility of a monitor hardware issue. In that case, you can manually check for faulty components if the issue isn’t with the hardware. Otherwise, you may have to consider replacing the monitor.
4] Change to Windowed Mode (for Games)
For PC gamers experiencing the issue in view, there were many reported cases where games fail to launch because the monitor hardware did not support the resolution settings set in the game because the game settings are set to a much higher resolution which your monitor cannot support. In this case, to resolve the issue, simply launch the game in Windowed mode in either of the following ways:
- Use Alt+Enter to enter Windowed mode directly.
- Add -windowed as a parameter in the shortcut and force it to run. To do this, right-click on the game desktop shortcut and select Properties > Shortcut tab. In the Target field, suffix the -windowed parameter and click Apply > OK.
In Windowed Mode, you can adjust the screen resolution manually by dragging the ends. You can also navigate to Display settings within the game itself and change the resolution accordingly.
In the event you cannot access the game settings, you can try deleting the configuration files (all your preferences regarding the launching of the game might be deleted) of the game via File Explorer on your system. After deleting the files, you can relaunch the game and change the settings from the menu.
For other games, usually, as it applies to widescreen monitors, it might be that the game itself doesn’t support the resolution of your monitor or a case of Stretched Screen display problem. For the former, you can check online for Widescreen fixes usually in the form of different patches you need to install before your game can launch on your system without issues.
However, if nothing worked here, you may have to perform System Restore or uninstall the update if you did a recent update.
Hope you find this post helpful!
How do I fix Input not supported without a monitor?
Change your display settings by following these steps:
- Locate an empty area on your desktop and right-click it.
- Select the Display settings option to proceed.
- Go to the Resolution settings.
- From the drop-down menu, select the resolution which is recommended for your display.
- Confirm your changes.
Why does my HDMI say not supported?
If you are seeing a not supported message on your TV you will need to adjust the resolution (or image size) of the source picture i.e. DVD player, Xbox, PC or cable box to fit on your HDTV. You can do this through the settings control of that device. The most common resolutions will be 1920 x 1080 also known as 1080p.
How do I fix HDMI not supported?
To fix HDMI not supported issue, you can turn off all the devices. Disconnect the HDMI cable from the monitor and the connected device. If the issue continues, repeat the process but try a different HDMI input on your TV to see if this improves the situation.
How do I fix Input not supported?
Under the monitor name that is having the Input Not Supported error, click Display adapter properties for Display. In the popup pane, click the Monitor tab. In the Screen refresh rate, choose the recommended or default rate in the drop-down menu. Save the changes and restart your computer.