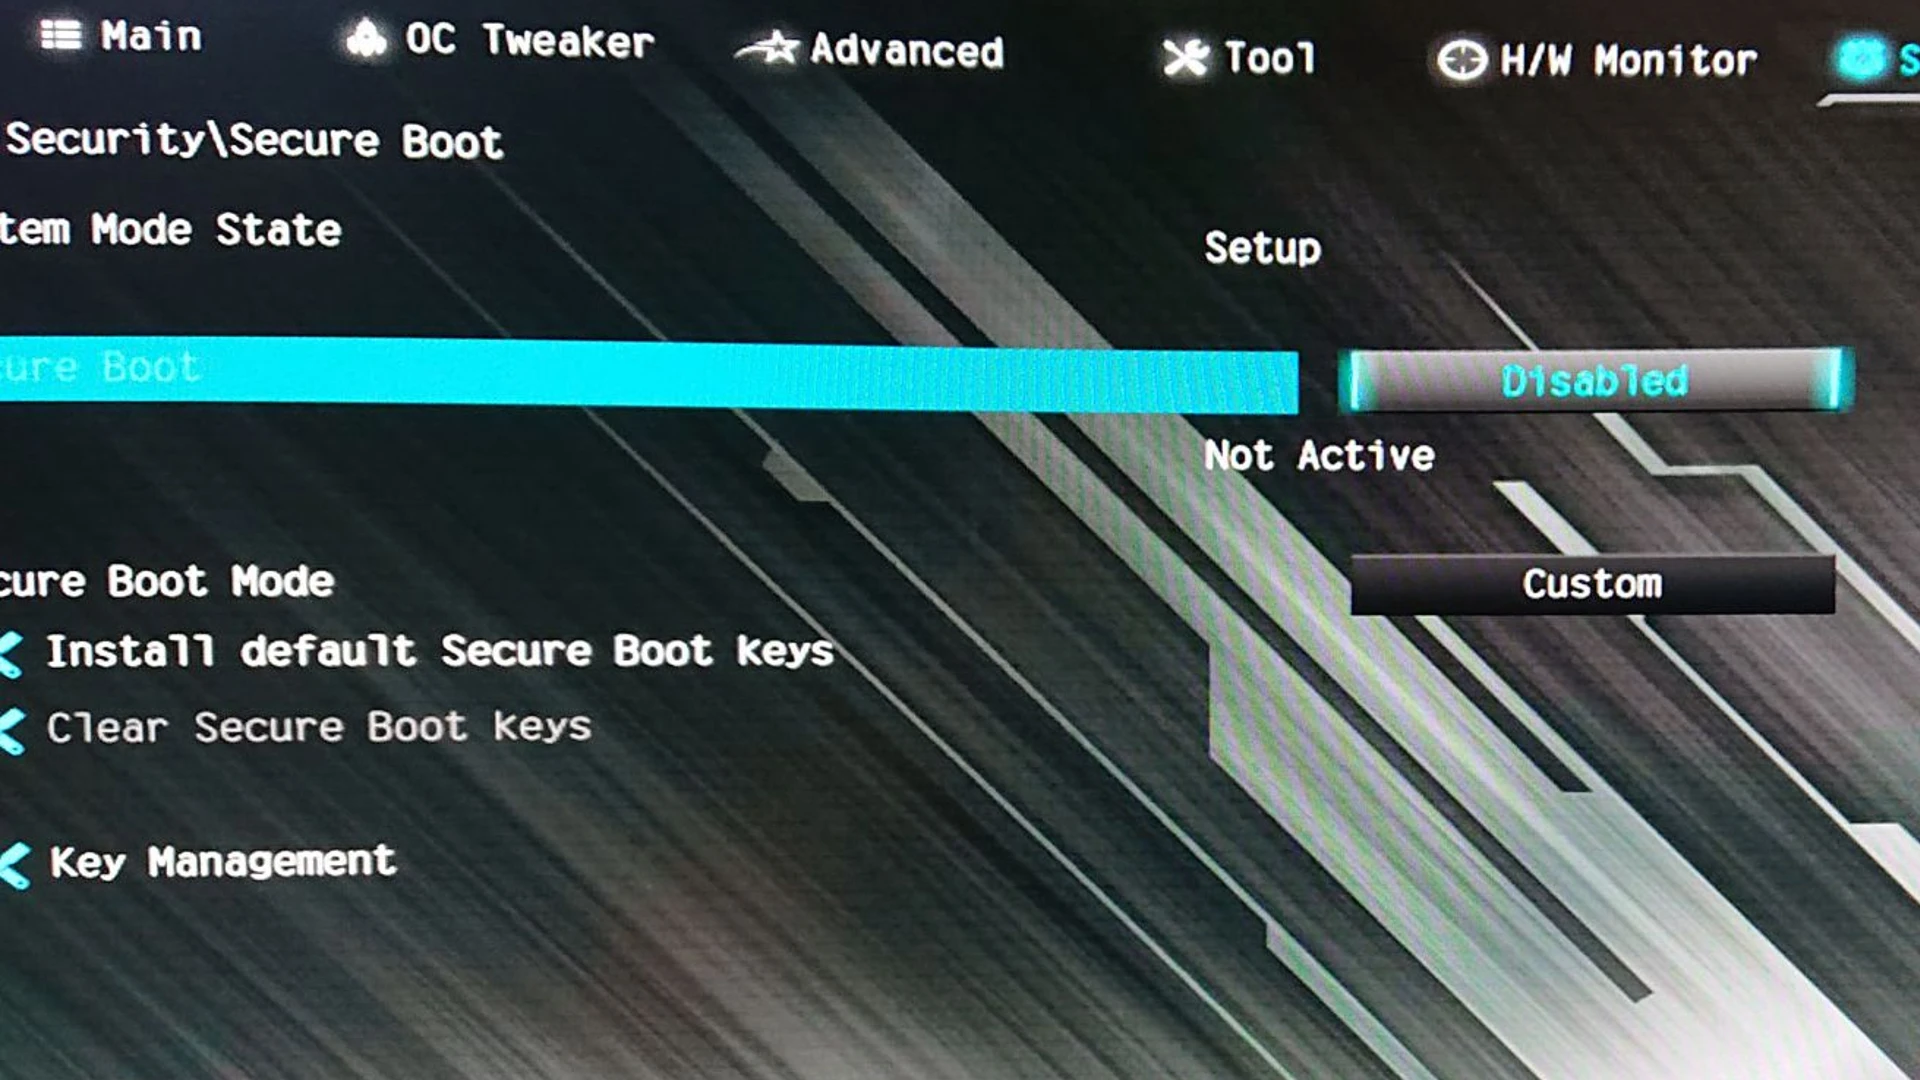
If the Secure Boot option is grayed out in BIOS on the computer, here is how you can troubleshoot the issue. This guide will show you how to re-enable the Secure Boot option in the BIOS in order to install the current version of Windows.
Secure Boot is greyed out in BIOS
- If Secure Boot is grayed out in BIOS, follow these steps:Set admin password
- Disable Fast Boot
- Go back into BIOS and Load BIOS Factory Defaults
- Update BIOS
- See if the Secure Boot is available
To learn more about these steps, continue reading.
1] Set admin password
A grayed-out option of Secure Boot in the BIOS is the first thing you need to do. Although it is not necessary, some configurations require users to set the admin or BIOS or UEFI password on Windows 11/10 computer to enable the Secure Boot option. In this guide, we will show you how to set and use a BIOS or admin password on Windows.
2] Disable Fast Boot
By reducing the number of processes and all, Fast Boot makes your computer start up faster. You can disable Fast Boot in Windows 11/10 PC to check if the Secure Boot option becomes activated or not. For your information, you can turn off or on the Secure Boot functionality in BIOS. That is why it is recommended to follow this guide to disable Fast Boot in UEFI or BIOS in Windows 11/10 computers.
3] Go back into BIOS and Load BIOS Factory Defaults
Your PC may not be able to boot into Secure Boot if a lot of things have been changed incorrectly. In such a situation, you have two options. First, you can revert all the changes manually. It may, however, take a long time to verify each setting and reverse the change. Secondly, you can use the inbuilt option to restore the BIOS to factory defaults.
You can follow this guide to reset BIOS to factory defaults in order to troubleshoot the issue and enable Secure Boot option.
4] Update BIOS
You might encounter the same problem on your computer if your BIOS firmware has not been updated for a very long time. Security reasons may have disabled some options. Because of this, Windows 11/10 computers should have their BIOS updated. Once this is done, the problem may automatically resolve itself.
5] See if the Secure Boot is available
If none of the solutions above worked for you, you can check whether your computer has Secure Boot enabled. Secure Boot isn’t enabled in your BIOS if your computer doesn’t have it. To see if the Secure Boot is available or not, do the following:
- Search for system information in the Taskbar search box.
- Find the Secure Boot State option.
- Find the status or value of this option.
- If it is On, Secure Boot is available.
That’s all! Hope this guide helped.
How do I fix the Secure Boot option grayed out in BIOS HP?
Using these solutions, you can enable Secure Boot in the BIOS of an HP computer that is grayed out. BIOS updates, BIOS settings resets, Secure Boot status can all be found here. In addition to that, you can also disable Fast Boot and set the admin password.
Why can’t I enable Secure Boot in BIOS?
Your BIOS might not allow you to enable Secure Boot for a number of reasons. Whether you have an ASUS, HP, Dell, or any other custom-configured computer, you may find the same problem on your PC. The above solutions should be followed in such situations one after another to resolve the issue.
