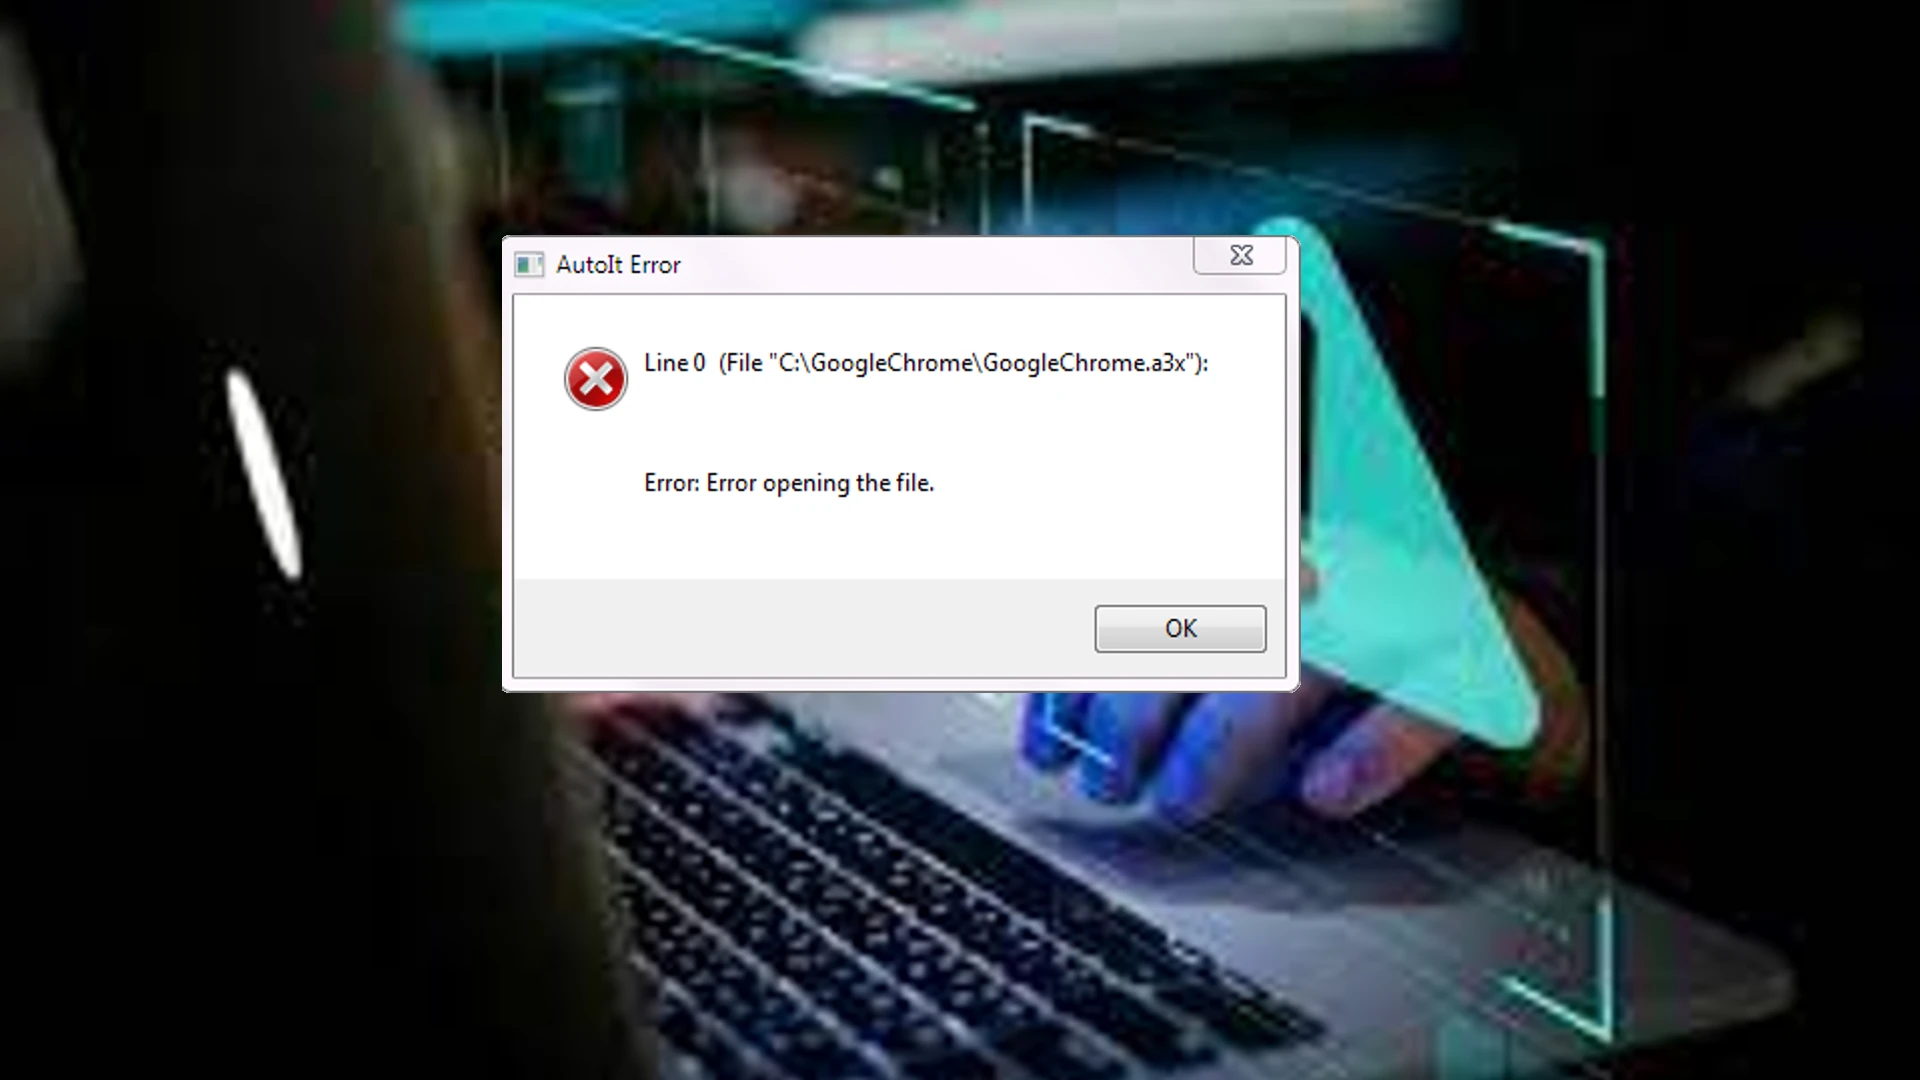
In this post, we will show you how to remove the AutoIt Error in Windows 11/10 computer. Some users have this issue that every time they start their computer, they receive an error message because of some corrupt data related to AutoIt. It could be because of files, Registry values, and/or folders associated with AutoIt. If you are also facing the same problem, then the solutions added in this post might help you. The AutoIt error message received by users goes like this:
Line 0 (File “C:\GoogleChrome\GoogleChrome.a3x”):
Error: Error opening the file.
What is AutoIt?
AutoIt is a freeware BASIC-like scripting language designed for automating the Windows GUI and general scripting. However some malware are know to use this name or this script to inject malware, so one has to be careful.
How to remove AutoIt Error in Windows 11/10
To remove the AutoIt Error from your Windows 11/10 computer, the following solutions might come in handy:
- Delete AutoIt entries using File Explorer
- Delete AutoIt string values from Registry Editor
- Use your antivirus to perform a system scan for viruses
- Remove AutoIt scripts from Windows startup.
Let’s check these solutions one by one.
1] Delete AutoIt entries using File Explorer
If there are files (EXE, TXT, DLL, etc.) and folders associated with AutoIt present on your computer, then it is possible that you are getting this AutoIt error. In that case, you need to find and delete such AutoIt entries with the help of File Explorer.
So, open File Explorer, access C drive (or where you have installed Windows) and find and delete suspicious files like KHATRA.exe, names.txt, svchost.com, sass.exe, Ask.com.exe, Exterminate It!.exe, driver—grap.exe, xerox.exe, etc. You will find these files in different locations or folders such as Program Files, Windows, System, System32, and more. It will take some time but this might help you fix the problem.
Apart from that, also check if there are folders like cuhu, CIDD_P, and bycool1, present in the user profile, Windows, and System folder. If yes, delete such malicious folders from your computer. After that, restart your computer, and the problem should be gone now.
2] Delete AutoIt string values from Registry Editor
If there are suspicious string values like Windows Update, AutorunRemover.exe, GoogleChrome, UnlockerAssistant, USBScan.exe, NBKeyScan, ApnUpdater, SoundMan, ShStatEXE, PTHOSTTR, ShutdownEventCheck, WHITNEY_S2P, GhostStartTrayApp, igfxhkcmd, Adobe ARM, SkyTel, HotKeysCmds, BCSSync, GrooveMonitor, etc., present in Registry Editor, then you need to delete those AutoIt string values in order to solve this problem. Before doing that, it is recommended to backup Windows Registry so that you can restore it later if something wrong happens. Once it is done, follow these steps:
- Type regedit in the Search box of your Windows 11/10 computer
- Press Enter key to open Registry Editor
- Access the following path:
HKEY_CURRENT_USER\Software\Microsoft\Windows\CurrentVersion\Run
- On the right-hand section, select all those suspicious entries
- Right-click to open the context menu
- Click on the Delete A confirmation box will open
- Press the Yes button in that box
- Restart your computer.
3] Use your antivirus to perform a system scan for viruses
It is always good to have a good antivirus program installed on your computer and you should perform a system scan from time to time. If your antivirus is good, start a system scan to check for viruses and delete them (if found any). Otherwise, you can use some other antivirus program to fix this problem. Thankfully, there are a lot of good free antivirus tools available to use that you can try.
4] Remove AutoIt scripts from Windows startup
It might be possible that some AutoIt scripts are present in your computer that run automatically when Windows starts because of which you face this problem every time. Therefore, you need to remove such AutoIt scripts from the Windows startup. For this, use the following steps:
-
- Download and install Microsoft Autoruns for Windows
- Launch the tool to open its interface
- Click on the Logon tab
- In the image path column of the Logon tab, look for the references to a3x and GoogleChrome. If you find such references, select them
- Press the Delete button. A confirmation box will pop-up
- Press the OK button in that box
- If you are not able to find such entries, then switch to the Everything tab
- Click on the Search icon present on the top left part of its interface to find GoogleChrome
- Once you find that item, uncheck the checkbox selected for that entry. This will disable the Registry entry related to that item
- Finally, restart your computer, and you should not see that AutoIt error anymore.
Hope something from these solutions will be helpful for you.
Is AutoIt a virus?
AutoIt (in its reasonable or acceptable form) is actually an automation language that is used for scripting Windows-based applications. On the other hand, if AutoIt is in its malicious form, then it can be used for creating malware with different functionality. So, if later is the case, and you are having issues like getting AutoIt error on Windows start, then you should remove all its entries from Registry Editor, remove its scripts from Windows startup, and delete files and folders from your computer. The solutions covered in this post above will help you remove such items.
How do I remove AutoIt EXE virus?
If AutoIt entries like its Registry string values, folders, EXE files, DLL files, etc., are present in your Windows 11/10 computer and you are having trouble with it, then you need to remove all such entries from your computer. You can perform a virus scan for your computer, delete its string values manually, and also use a free tool by Microsoft to remove AutoIt scripts from Windows startup. All such solutions are covered in this post above in detail.