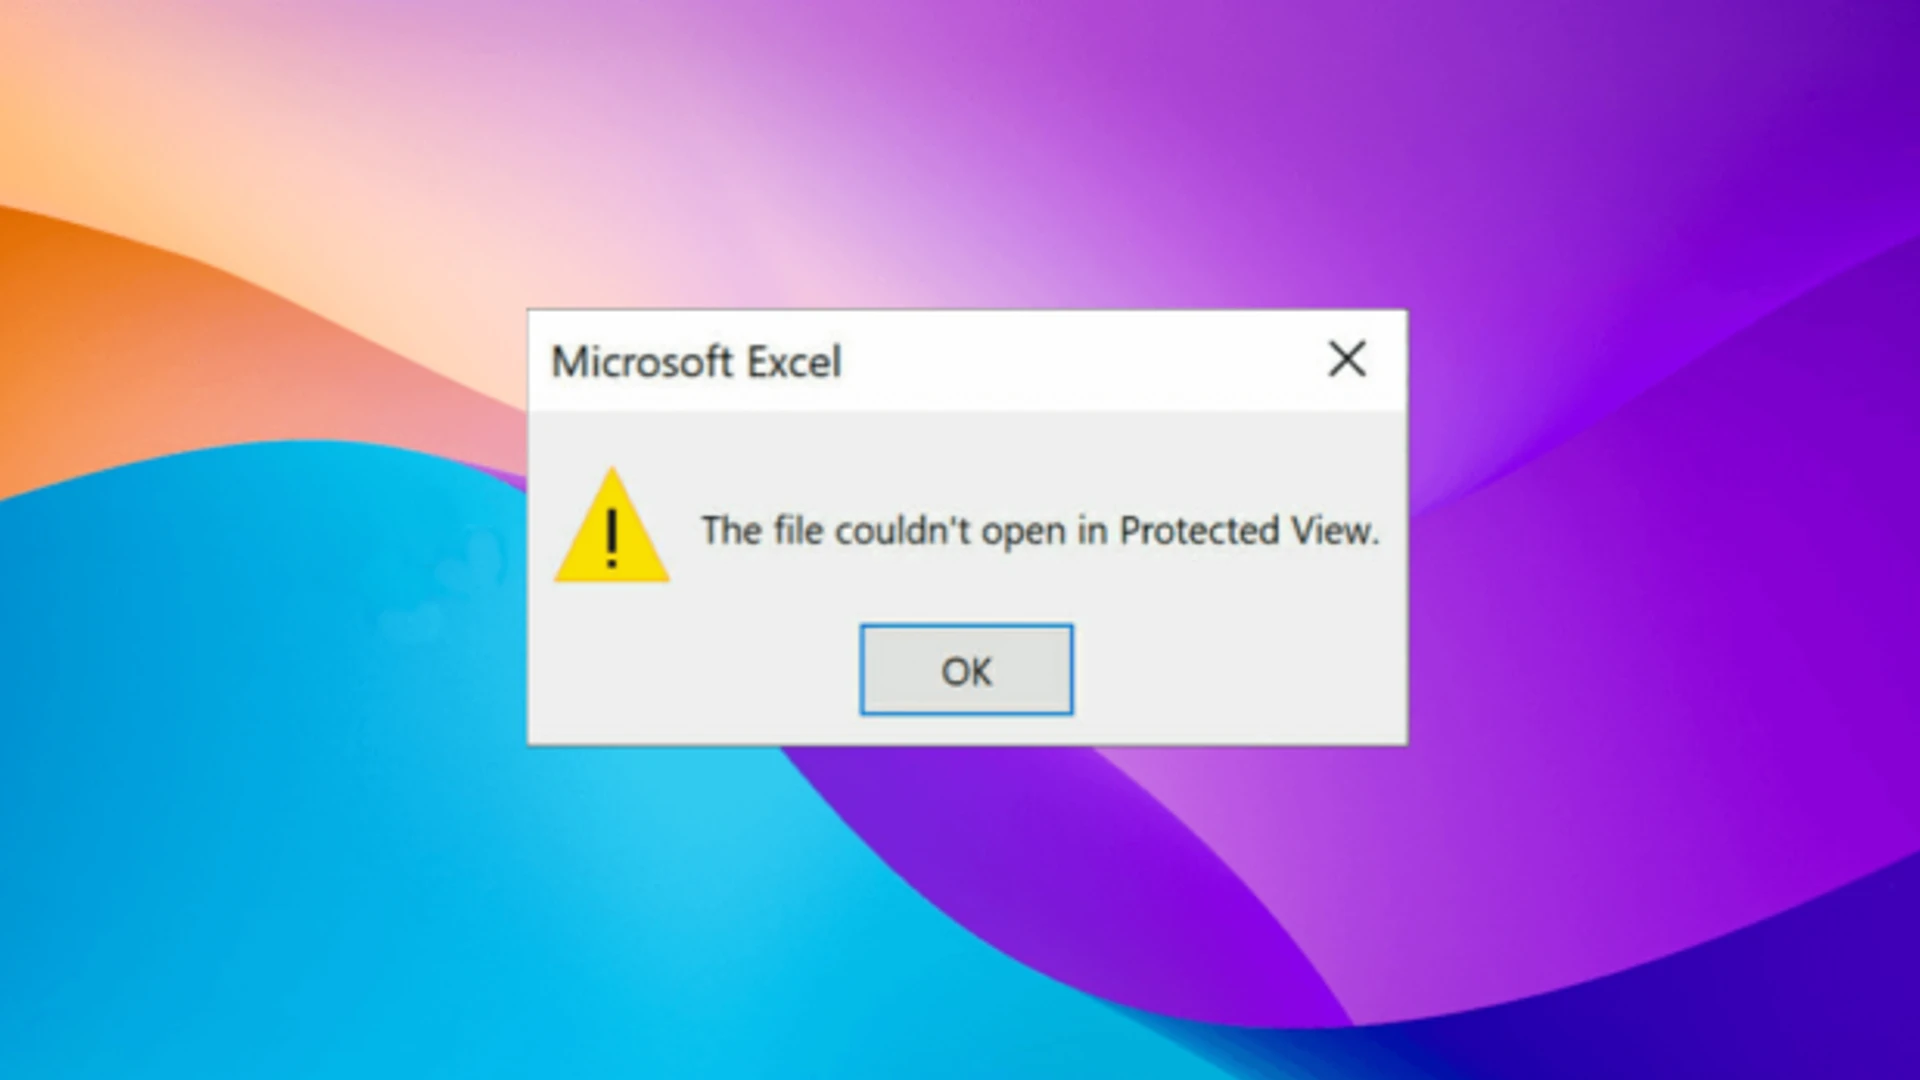
If you see the “The file couldn’t open in protected view” error while opening Microsoft Excel, the solutions listed in this post may help you resolve the issue. The majority of users experienced this error in Microsoft Excel, but it may also occur in Microsoft Word.
The Excel File couldn’t open in Protected View
- If Microsoft Excel shows the “The file couldn’t open in protected view” error when you open your file, try the solutions described below: Change the name of the file.
- Update Office
- Unblock the file
- Change the Trust Center settings.
- Check if the Dynamic Data Exchange option is enabled.
- Repair Office
- Uninstall and reinstall Office
Now let’s look at all these fixes in more detail.
1] Change the name of the file
If the error message persists, try changing the file’s name before trying any troubleshooting methods. Many users have found this trick to be effective. Hence, it should also work for you. If this does not work, try the next potential fix.
2] Update Office
If you want to check for updates manually, you can do so. It is possible to fix many bugs and issues by updating Microsoft Office. To check for updates for Microsoft Office, follow these steps:
- Open any Microsoft Office application, Word, PowerPoint, Excel, etc.
- Go to “File > Account.”
- You will see the Office Updates section.
- Click “Update Options > Update Now.”
3] Unblock the file
If the issue persists, unblock the file that is causing the issue. To unblock the file, follow the steps below:
- Right-click on your Excel file.
- Select Properties. Or press the Alt + Enter keys to open the file properties.
- Under the General tab, check the Unblock checkbox.
- Click Apply and then click OK.
This should fix the issue.
3] Change the Trust Center settings
The error message states that Microsoft Excel cannot open the selected file in Protected View. Therefore, the error may be resolved if you disable Protected View in Trust Center settings. Microsoft Excel’s Protected View mode can be disabled by following the steps below.
- Open Microsoft Excel.
- Go to “File > Options > Trust Center.”
- Now, click on the Trust Center Settings button.
- Select Protected View from the left side.
- Uncheck all the options on the right side.
- Click OK to save the changes.
- Click OK again to close the Excel Options window.
5] Check if the Dynamic Data Exchange option is enabled
By default, the DDE mode remains disabled in Excel. But if it is enabled, you may experience issues with excel, like problems launching Excel or Excel files. Check if this mode is enabled or not. If yes, disable it. The following instructions will guide you on this:
- Open Excel.
- Go to “File > options > Advanced.”
- Scroll down to locate the General section.
- If the Ignore other applications that use Dynamic Data Exchange (DDE) checkbox is selected, deselect it and click OK.
6] Repair Office
Some of your Office files may have been corrupted if the problem persists. In this case, repairing Microsoft Office can resolve the issue. Start by trying Quick Repair. If this does not work, run an Online Repair. Hopefully, this will resolve the issue.
7] Uninstall and reinstall Office
Microsoft Office should be uninstalled and reinstalled if none of the above solutions were successful. Make sure you have the product key before uninstalling Office. In order to reactivate Microsoft Office, you will need the product key.
How do I stop the file couldn’t open in Protected View?
This particular file cannot be opened in Protected View, according to the error message. In order to resolve this error, it is necessary to disable protected views. Apart from that, you can also try changing the name of your file, as this trick has helped many users. In this article, we have explained how to fix this error in Excel in detail.
How do I force an Excel file to open in Protected Mode?
You can open every Excel file in Protected Mode. For this, first, enable the Protected View in Excel Options. After that, configure the File Block Settings. The following steps will help you with that:
-
- Open Microsoft Excel.
- Go to “File > Options > Trust Center.”
- Now, open the Trust Center Settings.
- Select Protected View from the left side and then enable all the three options on the right side.
- Now, select File Block Settings from the left side.
- On the right side, select the Open checkboxes for the file types that you want to open in the Protected View.
- Now, select the Open selected file types in Protected View radio button at the bottom.
- Click OK to save the changes.
- Click OK again to close the Excel Options window.
Thanks for reading this post. I hope the solutions explained here helped you solve the problem.